


with nAst1, I have the fuel and spark tables run up to 8400 RPM.... currently in 200RPM increments from 2000-up(and 100 RPM from 400-2000), but I've had a few comments on it being excessive to the point of people not wanting to deal with that many cells, even if it has the potential for a better calibration. so, the future for it holds the same 400-2000 table, but going to 400RPM increments up to 8400.
I've never seen/heard of a VE or main spark table that wasn't interpolated.... that would be an extremely odd choice by the code engineer to do so. very few tables in GM code aren't interpolated and those that are tend to make sense or are at least non-critical.
in the stock calibration, spark still changes an appreciable amount even right up to the 4800 limit, and some use a RPM-derived sliding offset above that even, so I just want to put it all in one table. if you have significant fueling/spark changes above 6400.... well, code can always be revised.
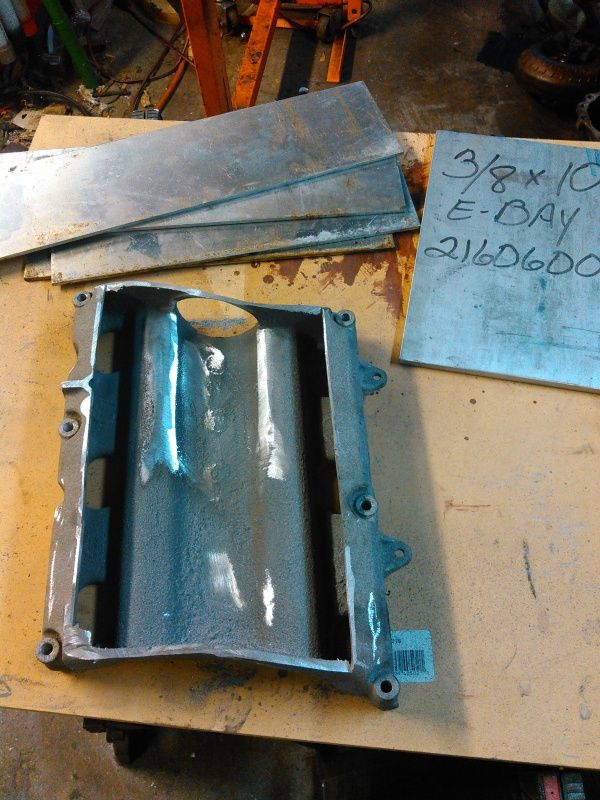
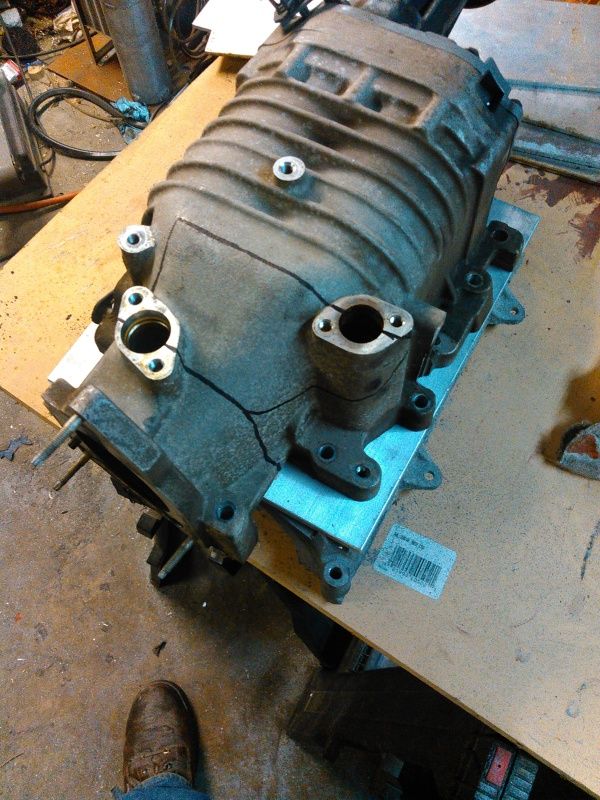
I apparently need to get together with someone who is capable of fabricating turbo manifolds/SC intakes and drive systems but doesn't want to deal with the electrical side of things.... I can make an adapter harness in my sleep(or change the harness for a more permanent solution), but metal fab is outside my range of comfort unless a CNC mill is involved.
as for code progress, it's nearly finished. the E-side is completely taken care of, which has the bulk of the work necessary, now I just need to finish up a little bit on the T-side since I have to pass MAP information(both an emulated 1BAR signal for T-side usage and the raw 2/3BAR signal for the end-user) over SPI since there isn't enough space on the T-side for more emulation code. speaking of space, after all has been added on the E-side, I have two sections of free space, one is about 900 continuous bytes, the other is about 2800 continuous bytes.... a 17x17 VE table would take up 578(and free up its previous 442 byte area), so I have plenty of room to do that.
the only quirk I'm coming up with so far is that the barometric update function may require disabling/severe limiting(since baro updates happen with high throttle/low vacuum, when the blower does its magic).
I should have something posted tonight, I know someone on 60V6 was also looking for it, so it will end up there as well. MAF support was also requested, though I may wait to make sure this is working out for everybody first before adding in a separate patch for that.


 Reply With Quote
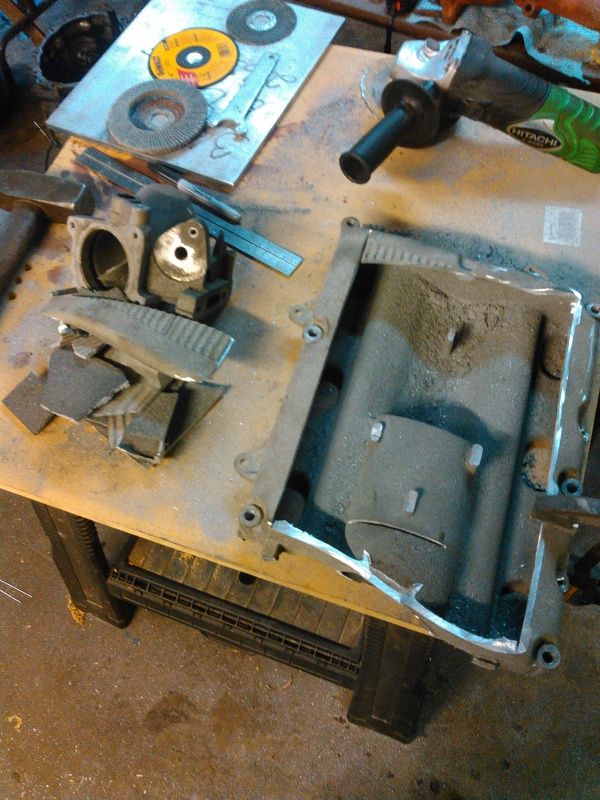


Bookmarks